O-Ring Inspection

Even before the 1986 NASA Space Shuttle disaster that took the lives of seven crew members, o-ring manufacturers throughout the world have had to place a strong emphasis on the quality of the goods they produce, both in terms of dimensional accuracy and longevity.
Inspection is no longer optional
Ever-increasing cost pressures mean that manufacturing processes are pushed to the limit, with the end result being that not all goods produced will meet the customer’s form and surface requirements.
Inspection of these parts has now become an essential component of the overall manufacturing process as a means to prevent defects from reaching customers.
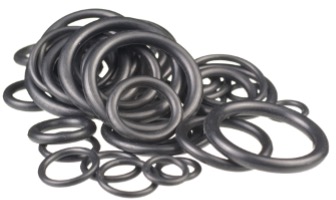
The Current O-ring Measurement Methods Are Not Adequate
There is a variety of measuring devices available in the market today that could be used to solve this issue including digital callipers, micrometres and a variety of measuring gauges, tape and cones.

These methods, being very manual, are all relatively low-cost items but require both a certain skill level and time. In turn, they are very limited when it comes to testing multiple parts quickly and accurately.
For example, if you manufacture 5,000 parts per hour and you wish to batch test 1% of these (50 pieces), it is easy to see that any of the above-mentioned methods would be very restrictive (and time-expensive). What if your customer demands a batch test of 10%? Or even 100%? How feasible are any of the above methods for this kind of demand?
A More Tailored Solution Is Needed
What is needed is an automated high-speed system that is tailor-made for o-ring inspection. The system should allow an operator to measure multiple o-rings at the same time. The setup and inspection should be as simple as possible, e.g. enter the nominal values and click go.
The measurement process should be high speed, for example, less than one second with a few extra seconds for data processing. The results should then output automatically along with any SPC data. When inspecting multiple o-rings a means to readily identify any failed items should also be provided.
Finally, the entire process should ideally happen on the shop floor next to the production machine and the inspection system should be tough enough to withstand the unavoidable vibrations, scratches and occasional bumps that will follow.
The Planar2D Solution
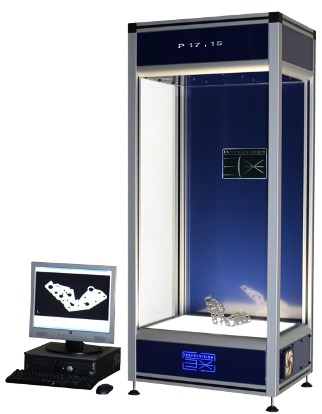
The Planar 2D is an award-winning inspection system and the fastest 2D Inspection Machine of its kind in the world.
The system can be used for very quickly measuring or reverse engineering parts. The system uses a backlit table and a static high-resolution digital camera mounted above the table.
Parts are measured by placing them onto the backlit table and the camera then captures an image of the parts silhouette. This image is then converted into up to 80 million measurements which can then be automatically compared to the CAD file.
The system is non-contact and does not require any jigging or fixtures. This makes it easy to measure flexible materials. The 2D system can also compensate for parts with varying thicknesses, edge profiles and raised sections (gap to table).
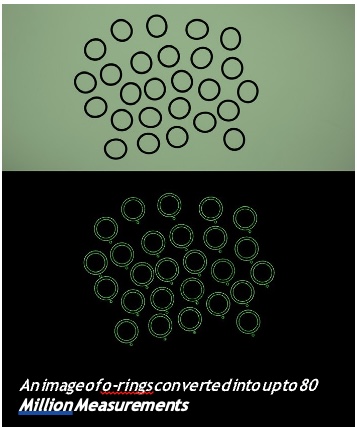
As the system has no moving parts there are no wear items that need maintenance or recalibration. Furthermore, the system can automatically detect when it has suffered trauma and will warn the user that recalibration is required. The table is not affected by vibrations or scratches and cracks on its glass surface.
The System Has Been Optimized For The Inspection Of O-rings
The Planar 2D Machine can measure single o-rings or multiple o-rings simultaneously.
As o-rings tend to be highly flexible they will not form a perfect circle when placed on the measurement table, this can make an assessment of their true diameter problematic using traditional approaches. To resolve this problem the innovative Planar Software measures the Rings circumference and area to determine its internal and external diameters.
This non-contact approach imparts no stresses or movement on the ring creating a much more accurate system than alternative contact measurement approaches.
A Highly Automated System
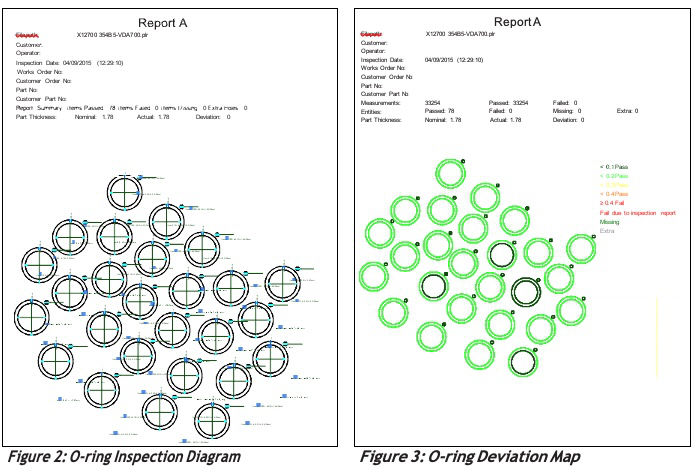
The setup time to inspect o-rings is extremely small. The user must simply enter the nominal diameter and cross-section values and click OK. In 0.1 seconds the system will measure hundreds or even thousands of o-rings at a time, at 12 microns. The measured values will then be compared to their nominal values and the results will be output, this can take a further 20 seconds. The system then helps you identify which o-rings have failed by overlaying the results onto an image of the measurement table. It is even possible to use an additional projector to project red onto the failed o-rings and green onto passed ones.
Gaskets, 3D and Reverse Engineering
The Planar system can also be used to inspect any flat 2D item such as gaskets or rigid rings and seals or even cross-sections of rings. In this mode, the software can automatically extract the parts nominal shape, dimensions and tolerances from its CAD file.
A barcode scanner or a single click is all that is needed to perform an automatic inspection removing the need for any time-consuming setup period. The system can also reverse engineer any flat item in a matter of seconds allowing you to cut copies of gaskets while the customer waits.
It is also possible to retrofit full 3D scanning using our Opti-Scan 3D option. The Opti-Scan 3D scanner can be used to inspect 3D items by comparing the 3D point clouds to a 3D solid model or to reverse engineer 3D parts into a 3D solid model.
Planar2D Inspection Report
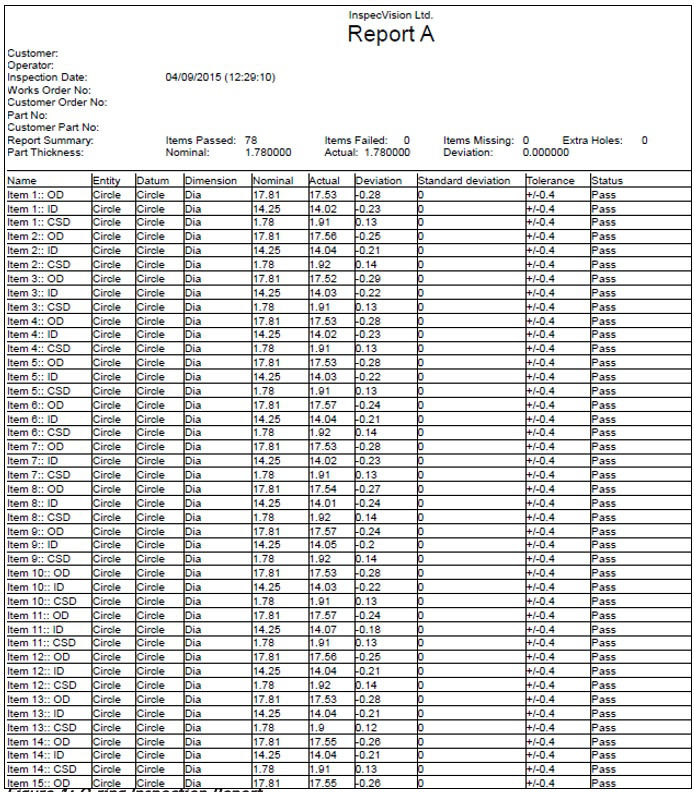
See figures 1, 2 and 3 for a sample Deviation Map, Inspection Report and Inspection Report Diagram for o-rings.
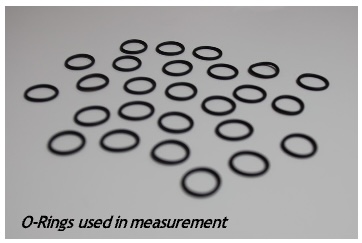
The Planar is the world’s fastest 2D measuring system. The Planar 2D measurement system has a large range of sizes accuracies.
For more information on how InspecVision systems can help you please contact our team at [email protected].
Download Application Guide
Specialists in the design and manufacture of computer vision-based measurement systems for industrial applications
Book an online product demo of any or all of our systems